How to Add Your Facebook Pixel
This article will guide you through setting up your Facebook Pixel on Magento 2.
This article will cover how to add the Facebook Pixel to all pages and to the order success page for conversions.
Step 1: Adding Facebook Pixel to All Pages
- In the Magento Admin Panel, go to to Content > Design > Configuration
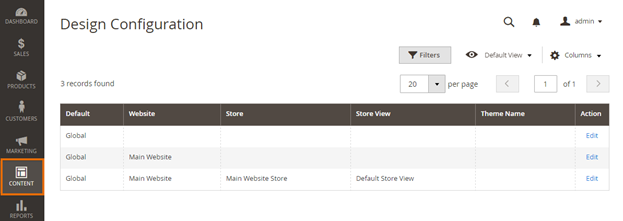
- In the configuration record corresponding to your store view, click Edit.
- Go to Other Settings > HTML Head > Scripts and Style Sheets.
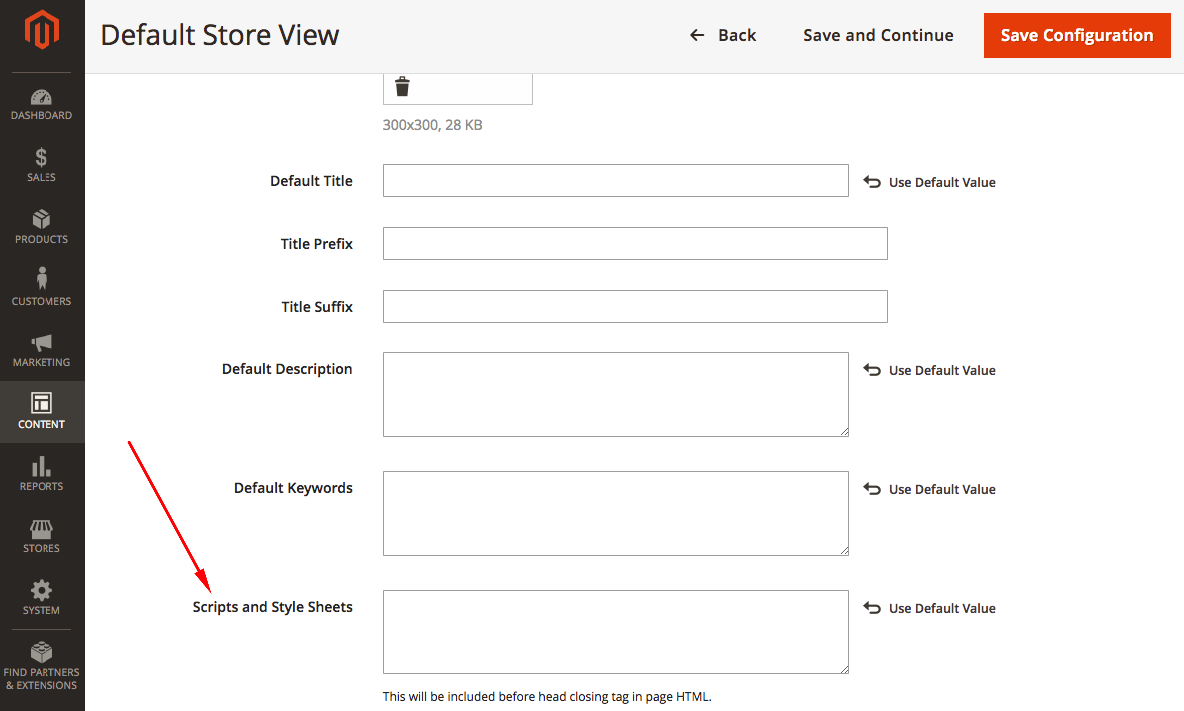
- Copy and paste the Facebook Pixel into the area next to Scripts and Style Sheets.
- In the upper right hand corner, press Save Configuration.
- Clear cache.
Step 2: Setting Up Facebook Pixel on Order Success Page
- Login to your Magento Admin Panel.
- Go toContent>Blocks.
- This will bring you to the Blocks page. Click onAdd New Block:
- You should now be on the following page:

- Enable Block- Leave this setting as Yes
- Block Title- Enter "Facebook Pixel"
- Identifier- Enter facebook_pixel
- Store View- By default, this should be selected as All Store Views. If it is not, click All Store Views.
- Text Area- Add the pixel here.
- Once you have configured the settings in Step 4, press Save in the upper right hand corner.

Step 2: Creating the Widget
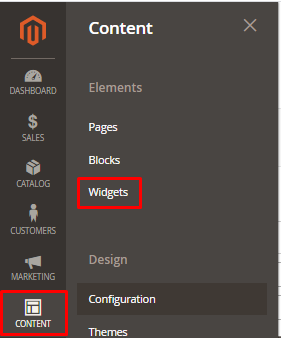
- Go to Content> Widgets.
- Click Add Widget.
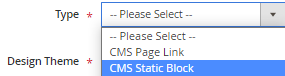
- Change the Type to CMS Static Block.
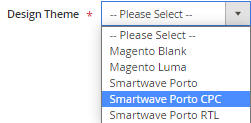
- Change Design Theme to Smartwave Porto CPC.
- Press Continue
- You should now see the following form:

- Set the Widget Title to Facebook Pixel.
- Next to Assign to Store Views, click All Store Views.
- You can leave Sort Order blank.
- Click Add Layout Update.
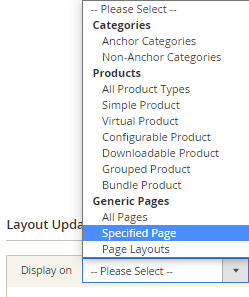
- Change Display On to Specified Page.
- Change Page to One Page Checkout Success.
- Change Display On to Specified Page.
- Set Container to Main Content Top.
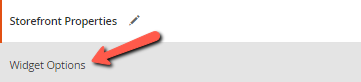
- On the left under Widget, click Widget Options.
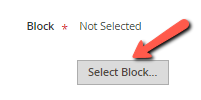
- Click Select Block.
- Choose the block with the ID facbook_pixel.
- Press Save.


Related Articles
How to add HTML Code to Pages
This article covers how to add HTML code that works in the header of all pages of the store's website. This feature is useful for many things, including adding scripts and links for targeting pixels, campaigns, branding, and more. Navigation 1. Log ...How to Add a Brand
This tutorial will require the shop by brands add on. This allows customers to shop by a specific attribute in your store. It can let customer shop by the brands offered in your store, but also allows you to select something else to sort by. If you ...How to Add Category Information
This article will guide you through the steps of adding category information to the website. Step-by-step guide Go to Catalog → Categories and select the category you would like to edit. Once a category has been synced from Counterpoint, you can ...How to Add/Modify Homepage Slideshow - Porto
This article covers the basics of adding and modifying the slide contents on your homepage. Please note that this tutorial only applies to Porto Themes actively installed. Your slider(s) on the homepage is powered by a JQuery plugin calledOWL ...How to Add a Sale to yourWebsite
This article will cover the two options you can add new Sales/Discounts to your website. Shopping Cart Price Rules: These are discounts that get applied after the products have been added to the cart. Things like coupon code, free shipping, discounts ...