Counterpoint: How to Setup Automatic Email After Order Management Step
This article will guide you through the process of setting up automatic emails after an order management step (Pick or Pick Verify).
Step-by-step guide
- In Counterpoint, go toSetup>Point of Sale>Form Groups.
- Next toForm Group, type a suitable name for the email such as PACK EMAIL and a suitable description such as Packing Email.
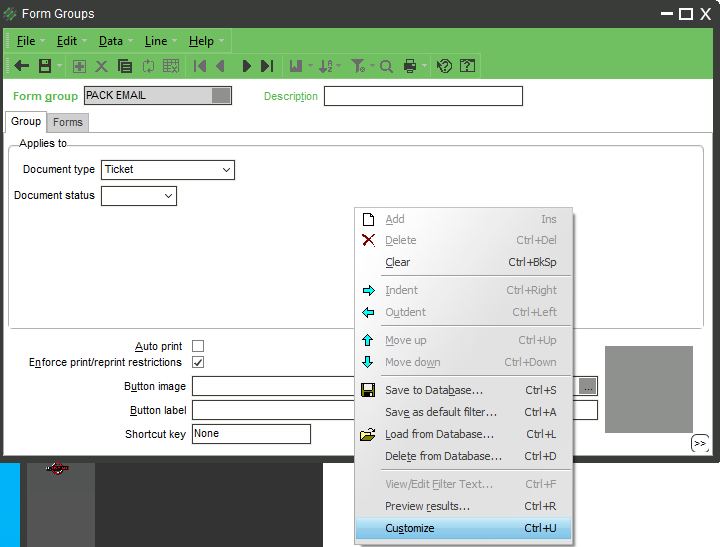
- In theGrouptab underApplies to, right click the area and click customize:
- The area below Applies toshould now look like the following:
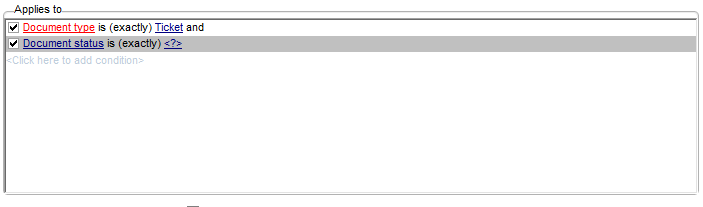
- Click Document status.
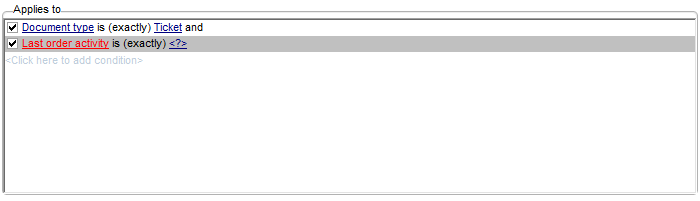
- In the menu that appears, scroll until you see Last order activity. The area below Applies to should now look like the following:
- Right click the area in white and clickSimplify. The area below Applies to should now look like the following:
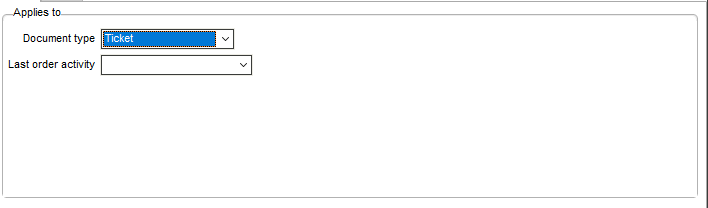
- Click the dropdown next to Last order activity.
- If you want the email after the order is Picked/ when the order is in the packing stage, select Pickedin the dropdown.
- If you want the email after the order is Pick Verified, selectPick Verified from OMin the dropdown.
- At the bottom, next toAuto printclick the checkbox.

- Now, next to the Group tab, click theFormstab.
- At the bottom next to Form filename, click the ... button to select the email.

- Drag the file you would like to send to the customer into the window that opens up.
- Select the file you added and press Open.
- Next to Printer method, click the dropdown and select Email.
- Click the Messages Tab.
- In Message after printing, enter in a confirmation email for yourself so you know the email has been sent.
- Press the Save icon.
